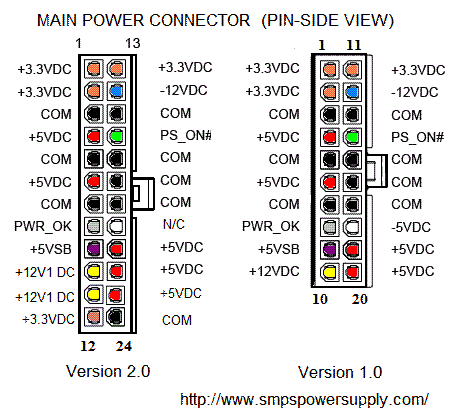
- ATX PSU with at least 350W and +12, +5V and +3.3V.
- ATX PSU Motherboard Extension Cord
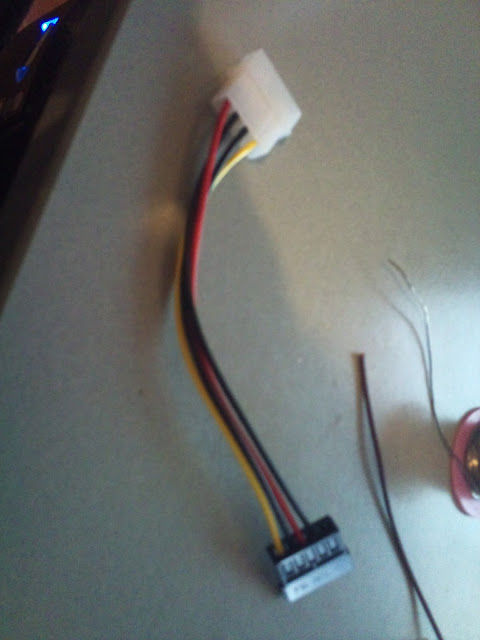
- HDD Power cable extender thingy
- HDD Power cable from IDE to SATA
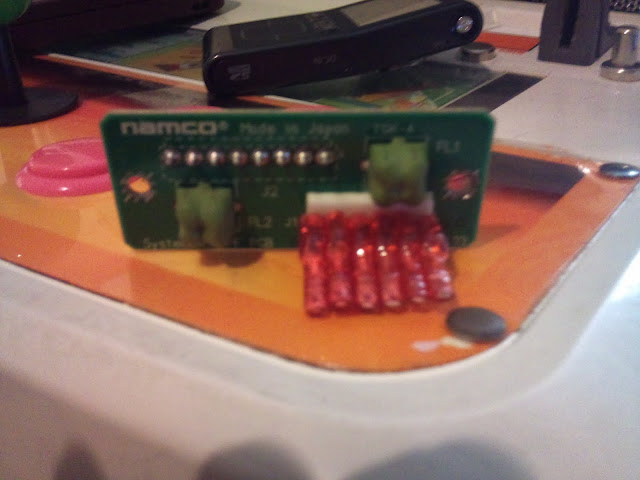
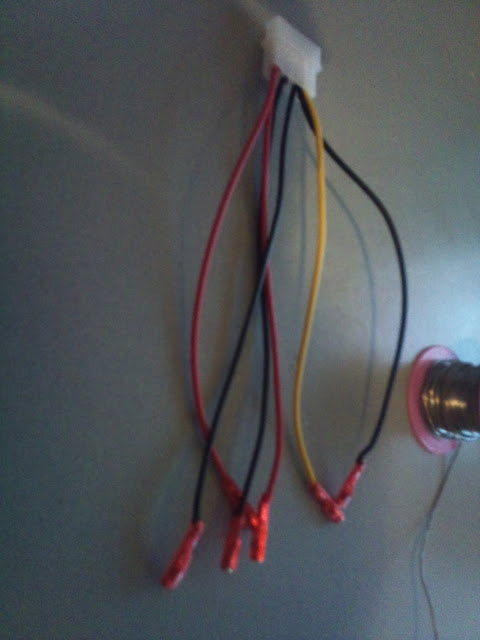
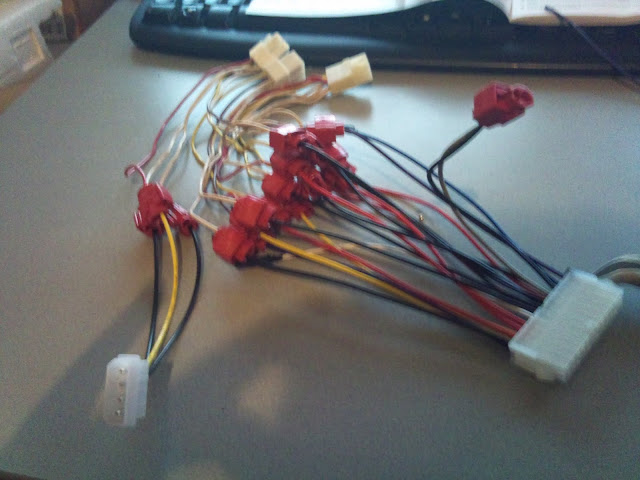
- Small connectors for System 246
- 9x Thief Connectors (Direct finnish translation, I connect the wires with these)
Part System 246 to ATX:
Ok so I was in electronics store and they didn't have System 246 connector so I thought f it and let me improvise. I found these little babies and I was good to go!!!

Next step was quite simple test that they fit properly and don't touch each others:
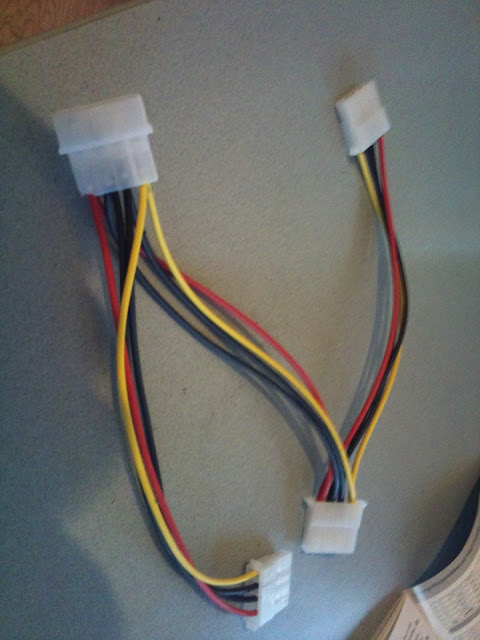
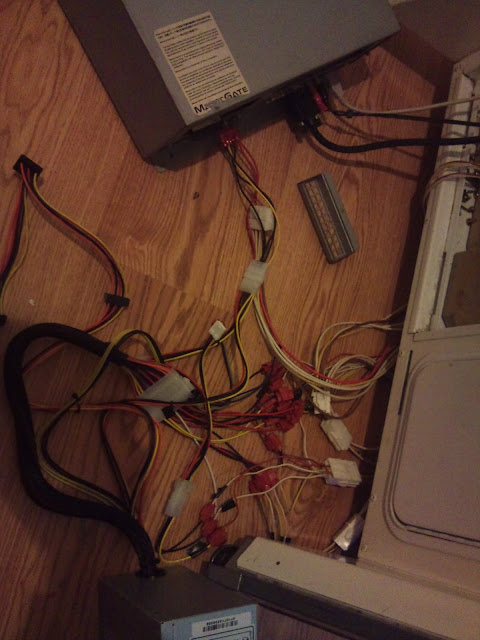
Great now to work, I found old PC power share thingy and made it useful again:
Soldering done:
GREAT: *bruno voice*


PART PSU TO JVS:
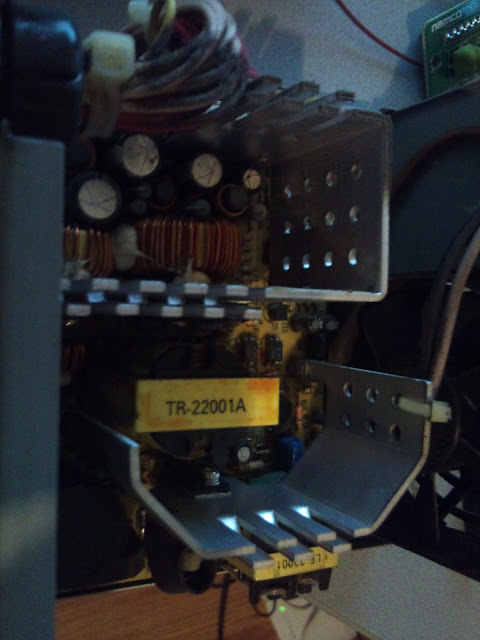
Ok next step is to strip the old faulty Sega PSU and replace it with ATX PSU, I bought 350W PSU with +5V, +-12V, +3.3V, +5VSB. (Chieftain A85)
Opened up the PSU and damn it was dusty:
I cut all the Naomi wires:

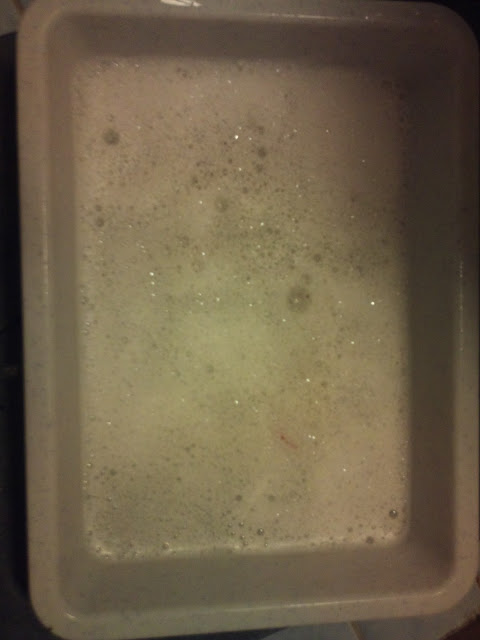
Washed them with soap:
While they were in the soap water I took the liberty of taking the ATX Motherboard Extension cord and connecting PS_ON and COM(Ground). Now the PSU thinks PC power switch has been pressed and it always turns on when it gets the power.

Cut the other end of the extension cord:

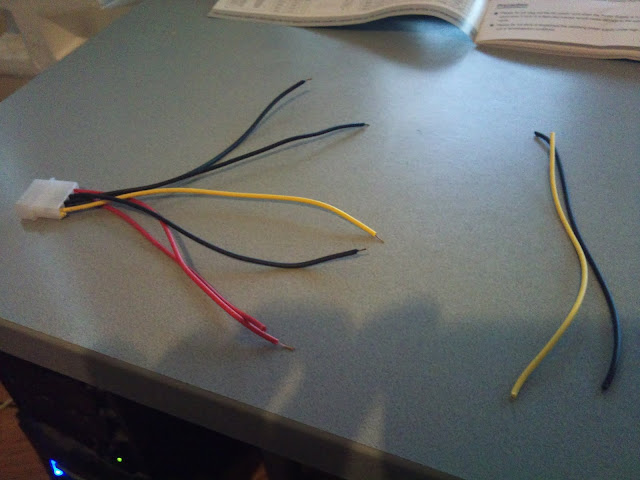
Connected every single wire and noticed ATX doesn't have enough wires for all the Naomi wires.
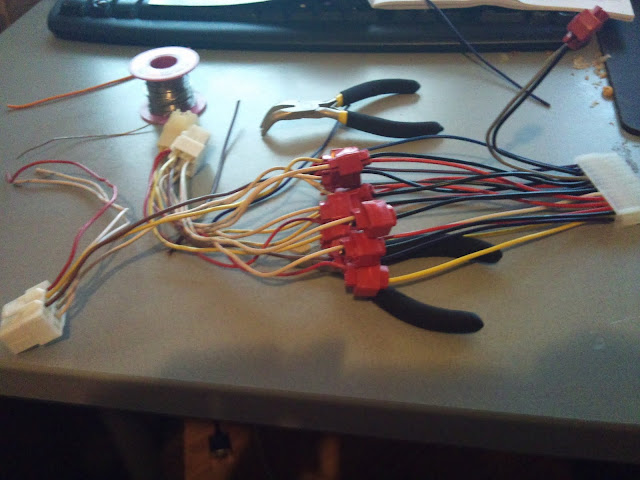
Don't worry, here is a nifty solution:
*applaudes*:
I checked all the cables and noticed some were not connected properly but I fixed it.
I also powered up the PSU and checked every single cable that the voltages were correct
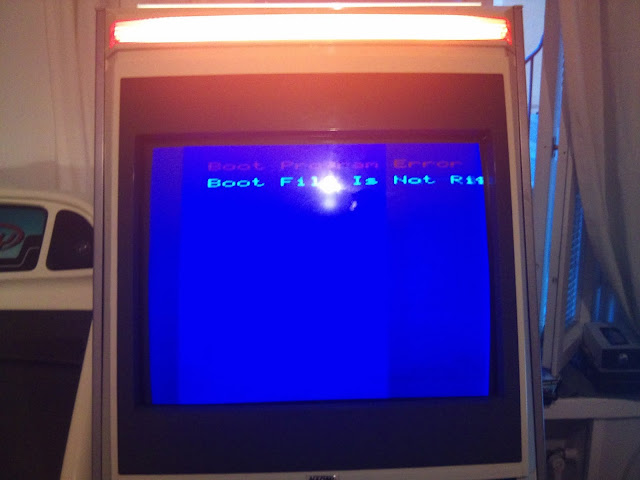
I have no working Naomi so all I could test was System 246.
And well fu you who ever sold this to my friend, I guess I go and buy new DVD drive tomorrow since this seems to be dead:
I also cannot center the picture with the cabinet anyone got any solutions to this?

Tomorrow I'll take more pics and connect the PSU in the cabinet properly.