Goatboy's Sega Net City SD Project
Posted: Sun Dec 27, 2009 10:26 pm
Hello Everybody,
Already posted this on a Dutch arcade forum (www.nozomi.nl) and thought, why not sharing it on here as well. This is my first Naomi Net City refurb job and i'm really proud of the end result if i may say so. The only thing left to do is getting a new marquee holder and tri-syncing the monitor.
Alright, This is how i picked it up last year. Plastics were a little yellowed and the metal parts especially the base was a little rusty. The sidecovers had some really ugly scratched and stains on the coating as well.
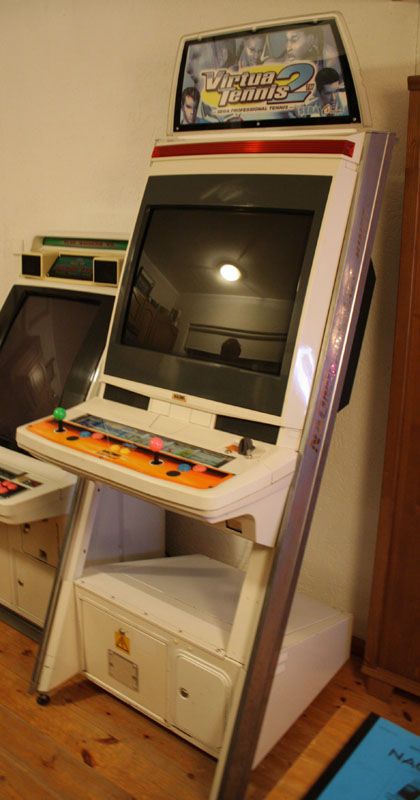
...this is how she looks now, Chopped and shining! :smt007

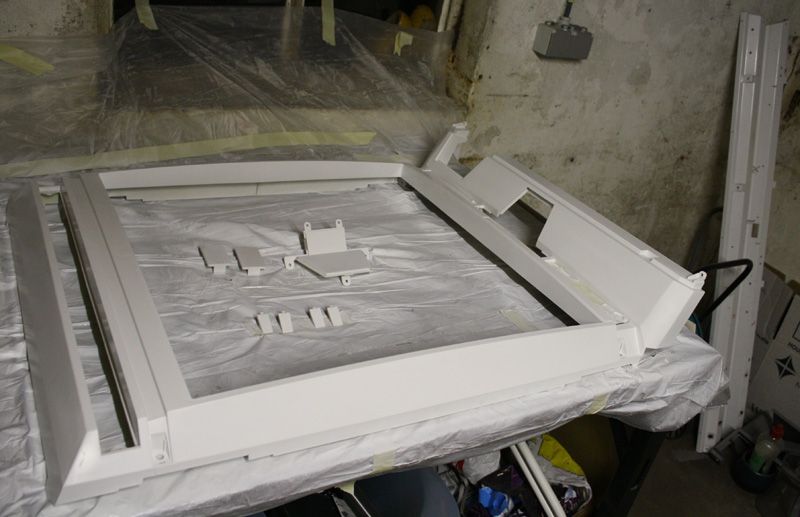
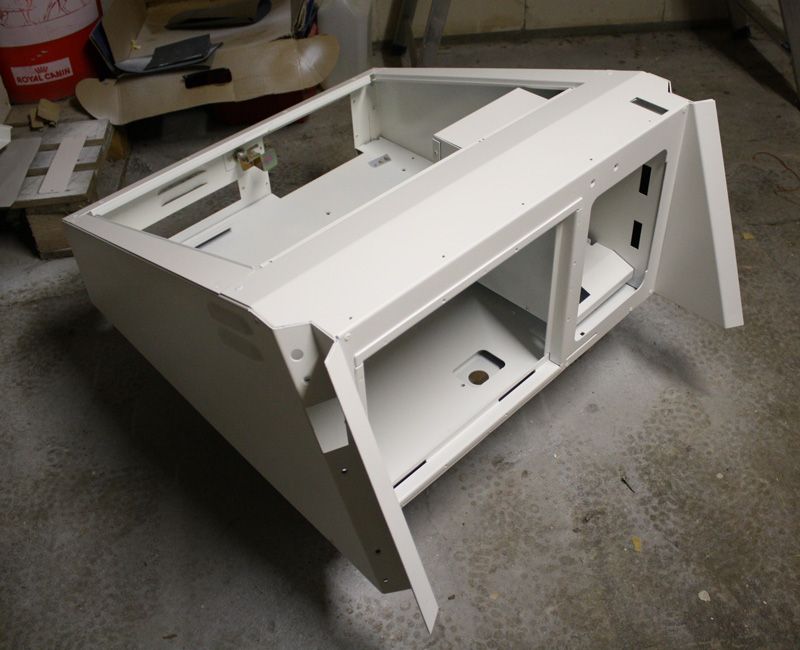
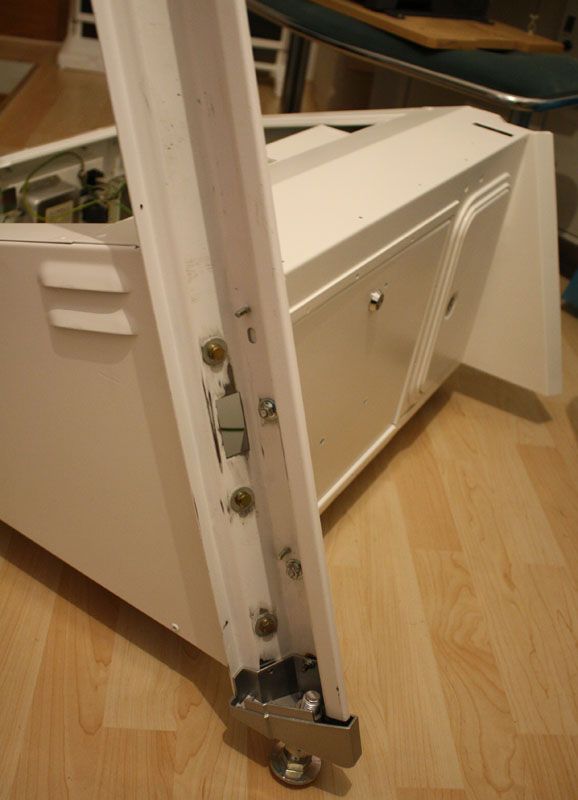
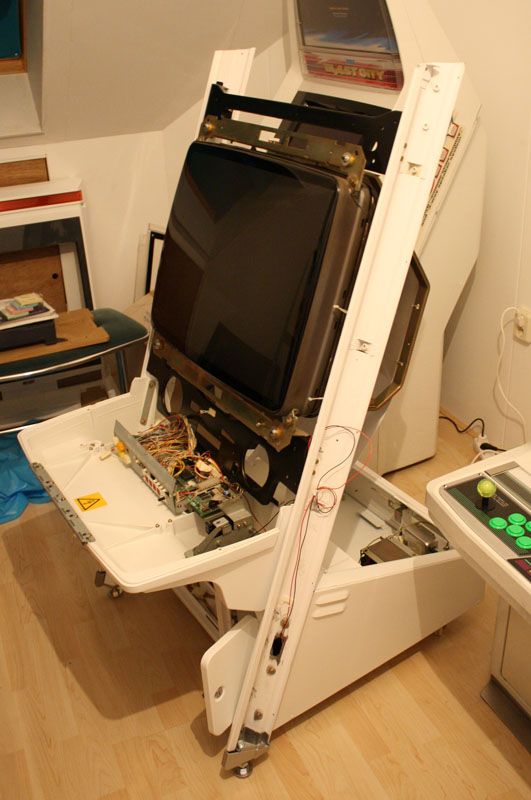
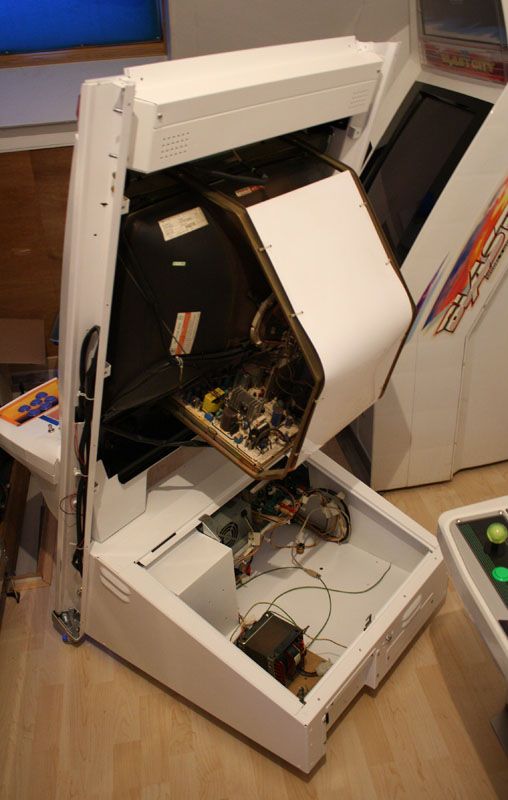
Underneath you can find some more pictures of respraying and rebuilding it all including a list of all that was done and replaced.
Checklist:
Sanding / Spraypaint / Polish:
5x Motip White High Gloss
2x Motip White Primer
1x Motip Plastic Primer
12 Sheets of sandpaper (600, 1200)
Plastic foil (to create spray area)
Sticker remover
Novus 1 2 3 Plastic Polish (Removed most scratches on the screen bezel with this, Awesome!)
500ml Nitromors Paint Remover (Very aggressive stuff! Was nessecary to get the sidecovers shining again but be careful with this)
Parts:
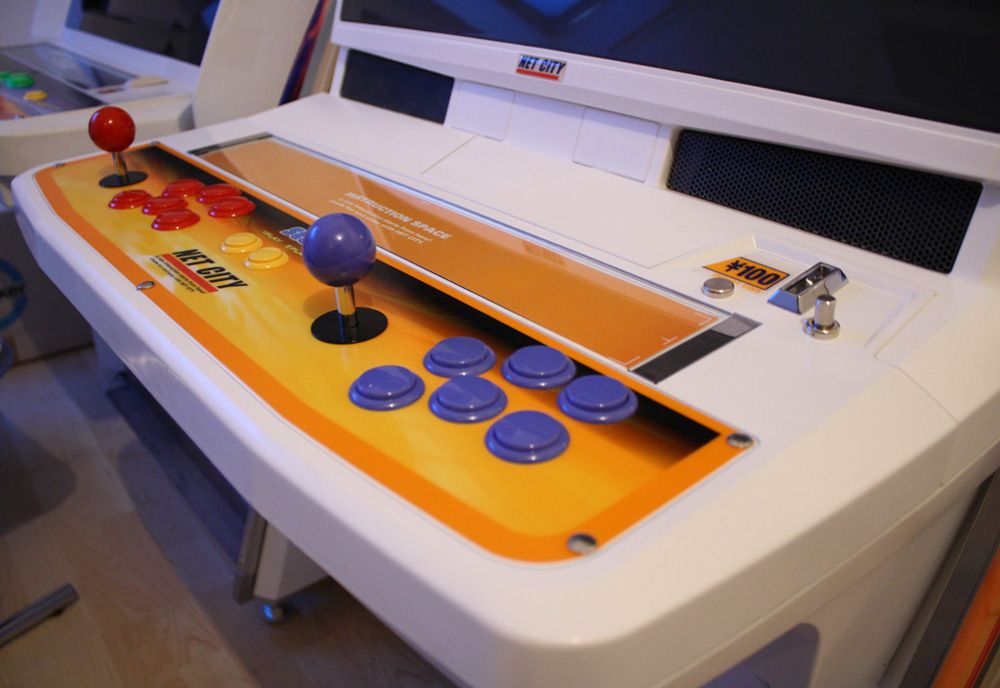
Control Panel Plate 2L12B [HOT-2005]
2x Sticks: Sanwa JLF-TP-8Y
6x Sanwa Pushbuttons 'snap in' OBSF-30 Dark Blue
6x Sanwa Pushbuttons 'snap in' OBSF-30 Red
2x Sanwa Pushbuttons 'snap in' OBSF-24 Yellow
Player 1 Loom 1L3B [600-6317-17]
Player 2 Loom 1L3B [600-6317-18]
Sega 6 Button Loom [600-6227-10]
1x Chrome Coin Entry
2x Leg Hoof
2x Leg leveler
Art:
1x Naomi Net City 2L12B Control Panel Overlay [NOI-2001]
1x Naomi Net City Instruction Sheet [NOI-1409]
1x Net City 100 Yen Coin Decal [NOA-1412]
1x Net City Bezel Emblem [NOI-1507]
1x Net City marquee
Net City Left Leg Decal [NOI-1008]
Net City Right Leg Decal [NOI-1015]
...and lots of patience

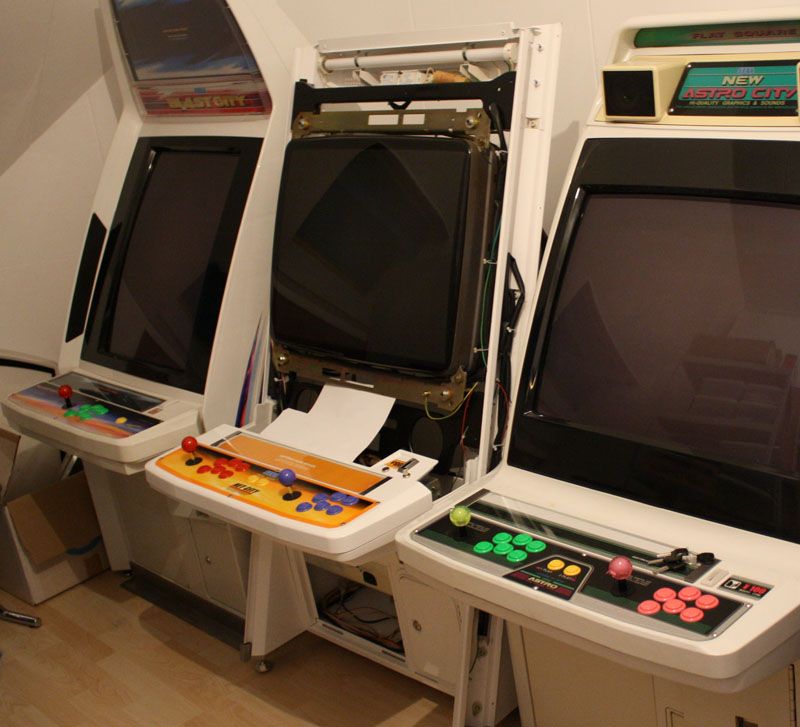
And some more glamour shots.
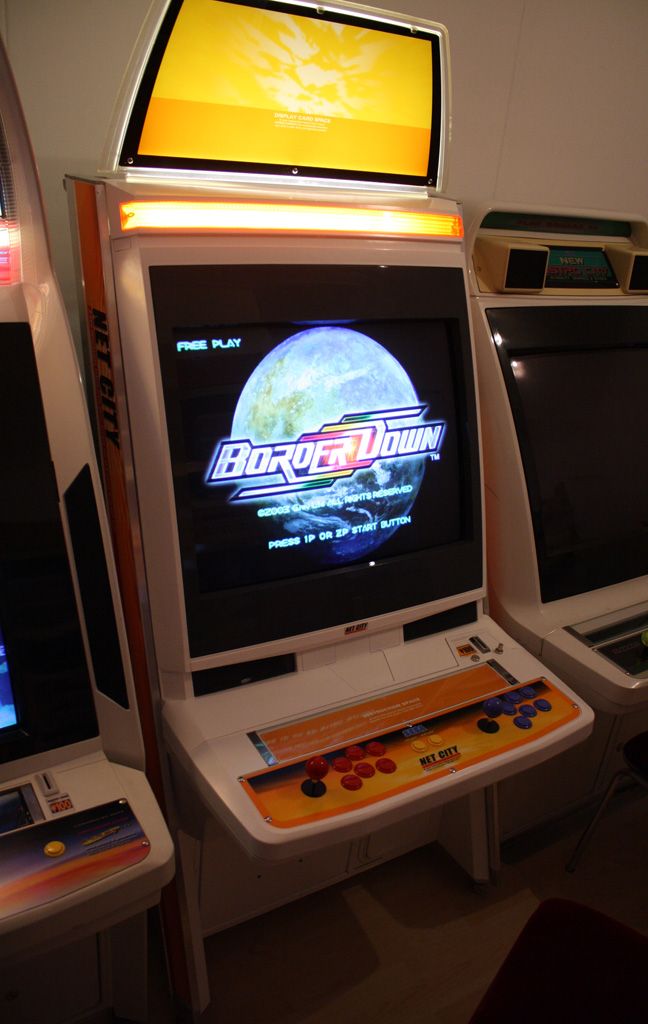
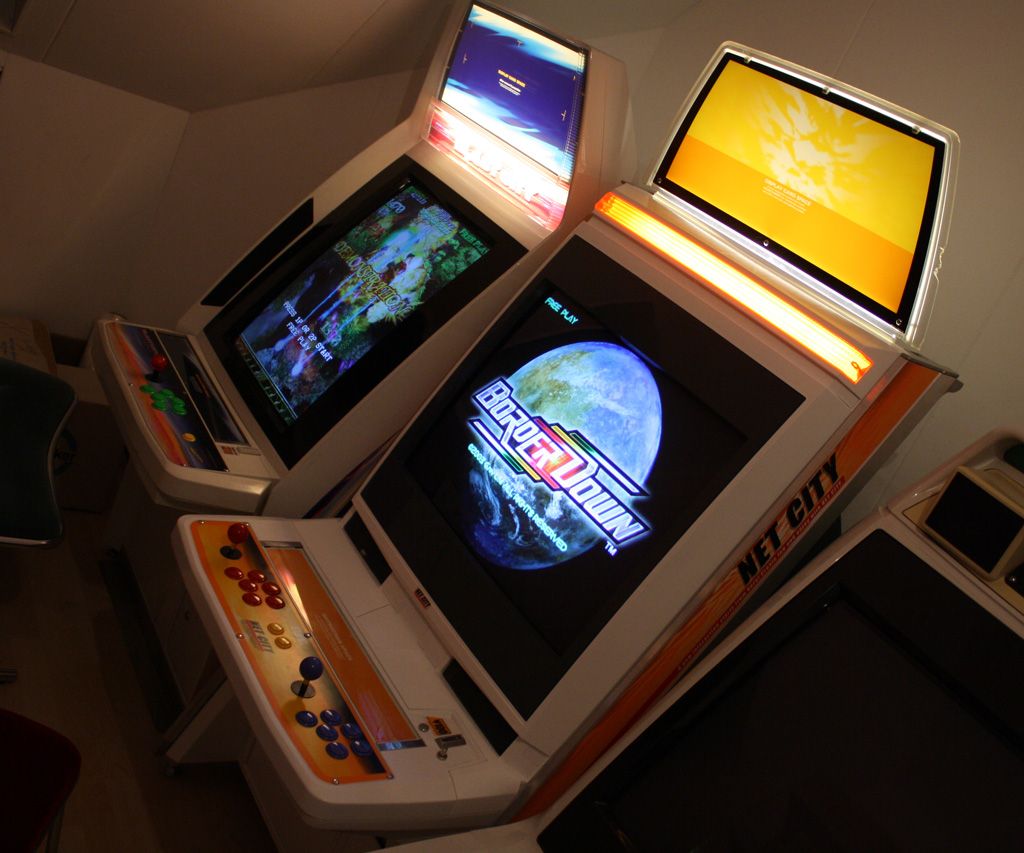
Thanks for watching!
Already posted this on a Dutch arcade forum (www.nozomi.nl) and thought, why not sharing it on here as well. This is my first Naomi Net City refurb job and i'm really proud of the end result if i may say so. The only thing left to do is getting a new marquee holder and tri-syncing the monitor.
Alright, This is how i picked it up last year. Plastics were a little yellowed and the metal parts especially the base was a little rusty. The sidecovers had some really ugly scratched and stains on the coating as well.
...this is how she looks now, Chopped and shining! :smt007
Underneath you can find some more pictures of respraying and rebuilding it all including a list of all that was done and replaced.
Checklist:
Sanding / Spraypaint / Polish:
5x Motip White High Gloss
2x Motip White Primer
1x Motip Plastic Primer
12 Sheets of sandpaper (600, 1200)
Plastic foil (to create spray area)
Sticker remover
Novus 1 2 3 Plastic Polish (Removed most scratches on the screen bezel with this, Awesome!)
500ml Nitromors Paint Remover (Very aggressive stuff! Was nessecary to get the sidecovers shining again but be careful with this)
Parts:
Control Panel Plate 2L12B [HOT-2005]
2x Sticks: Sanwa JLF-TP-8Y
6x Sanwa Pushbuttons 'snap in' OBSF-30 Dark Blue
6x Sanwa Pushbuttons 'snap in' OBSF-30 Red
2x Sanwa Pushbuttons 'snap in' OBSF-24 Yellow
Player 1 Loom 1L3B [600-6317-17]
Player 2 Loom 1L3B [600-6317-18]
Sega 6 Button Loom [600-6227-10]
1x Chrome Coin Entry
2x Leg Hoof
2x Leg leveler
Art:
1x Naomi Net City 2L12B Control Panel Overlay [NOI-2001]
1x Naomi Net City Instruction Sheet [NOI-1409]
1x Net City 100 Yen Coin Decal [NOA-1412]
1x Net City Bezel Emblem [NOI-1507]
1x Net City marquee
Net City Left Leg Decal [NOI-1008]
Net City Right Leg Decal [NOI-1015]
...and lots of patience
And some more glamour shots.
Thanks for watching!


